
Documents Required, SWAGAM Registration Process & Architect Verification
Documents Required Before Applying
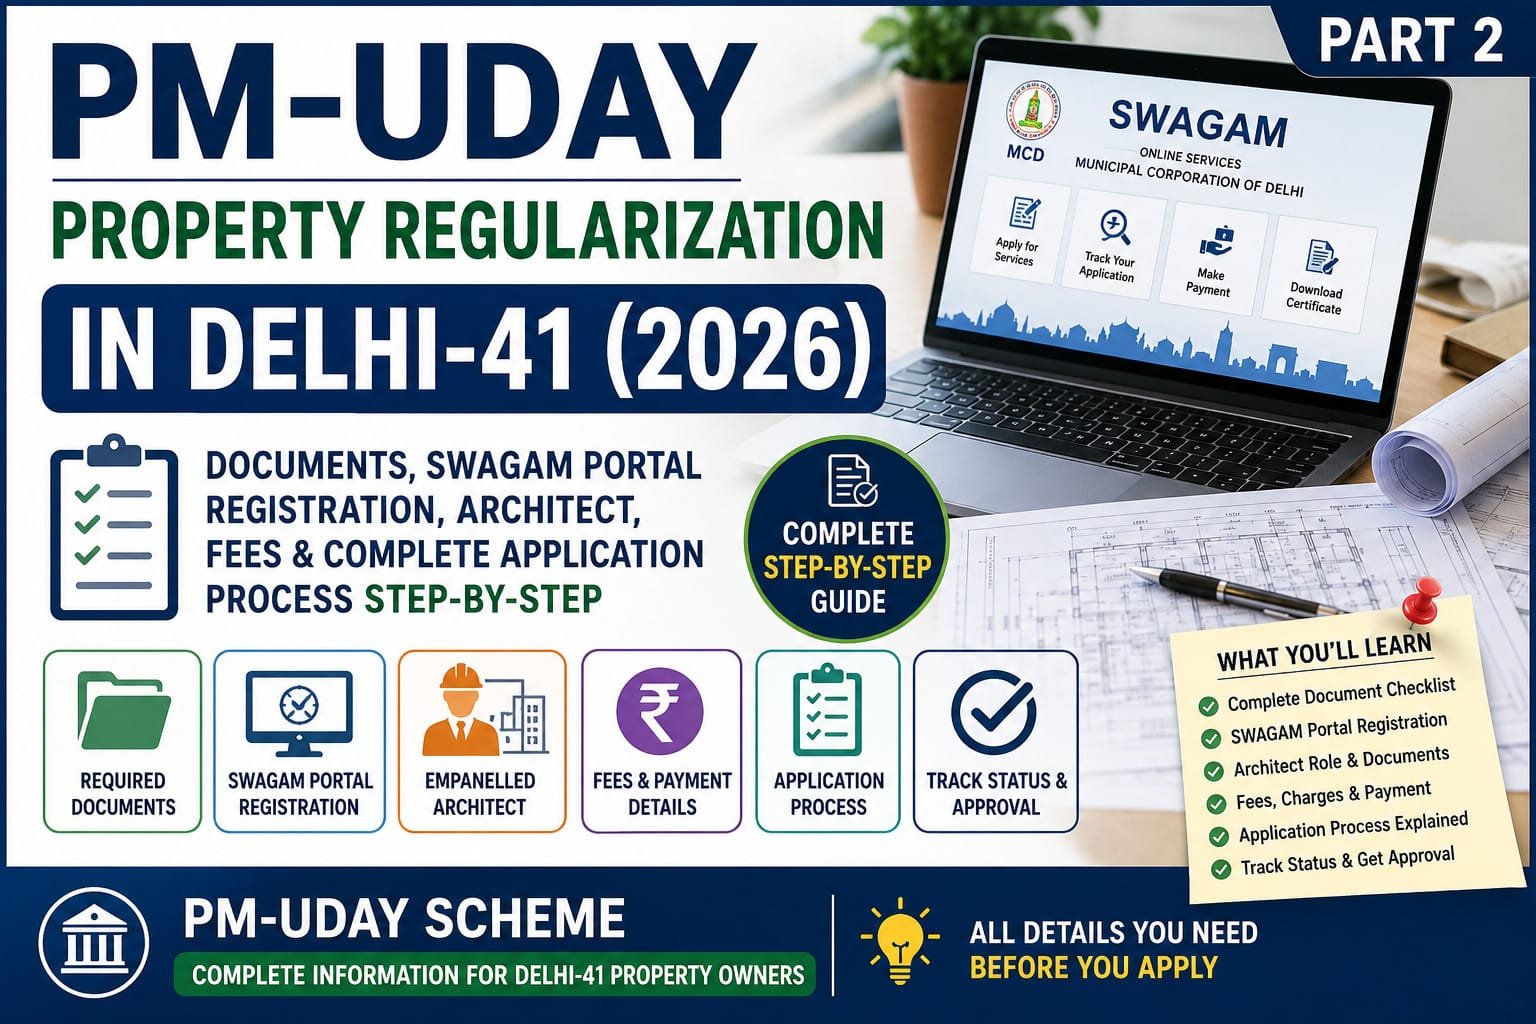
One of the biggest reasons applications get delayed is incomplete or incorrect documentation. Before opening the SWAGAM Portal, make sure you have all the required documents in digital format.
Although document requirements may vary depending on the property and individual case, applicants are generally expected to keep the following ready.
Essential Documents Checklist
| Document | Purpose |
|---|---|
| PM-UDAY Case ID | Mandatory for fetching property details |
| Aadhaar Card | Identity proof |
| PAN Card | Identity and tax verification (where applicable) |
| Passport-size Photograph | Applicant identification |
| Property Ownership Documents | Ownership verification |
| Existing Building Plan | Existing construction details |
| Structural Stability Certificate | Safety certification by an empanelled engineer |
| Property Photographs | Front, side and rear views |
| Self Declaration / Affidavit (if applicable) | As required by the portal |
Tip: Scan all documents clearly in PDF or JPG format before starting the application to avoid interruptions during upload. The SWAGAM portal auto-fetches some information from your PM-UDAY record, but applicants are still expected to upload supporting identity and technical documents.
Why is an Empanelled Architect Required?
Many property owners assume they can upload a simple hand-drawn layout themselves.
This is not how the regularization process works.
The Municipal Corporation of Delhi requires technical documents to be prepared and submitted by an MCD-empanelled architect. The architect uses a dedicated login to upload the building plan and other technical documents as part of the application.
The architect generally helps with:
- Measuring the existing building
- Preparing the site plan
- Preparing floor plans
- Preparing elevation drawings (if required)
- Calculating built-up area
- Identifying FAR details
- Uploading technical documents
- Coordinating with the structural engineer where required
Choosing an experienced architect can reduce mistakes and save time during scrutiny.
What Does the Structural Engineer Do?
For many applications, a Structural Stability Certificate is also required.
This certificate confirms that the existing structure is considered structurally stable based on the engineer’s assessment.
The certificate is normally prepared and signed by an empanelled structural engineer and submitted along with the architect’s documents.
Step-by-Step SWAGAM Registration Process
Once you have obtained your PM-UDAY Case ID, you can begin the online application process.
Step 1 – Visit the SWAGAM Portal
Open the official SWAGAM Portal.
Create your account if you are a new user.
Existing users can log in directly.
Step 2 – Enter Your PM-UDAY Case ID
This is one of the most important steps.
After entering your Case ID, the portal generally retrieves information such as:
- Owner Name
- Property Address
- Plot Area
- Ward
- Zone
- Geolocation
- Property Identification Details
Carefully verify that all information matches your records before proceeding.
If any major discrepancy appears, resolve it before continuing with the application.
Step 3 – Select Your Architect
Choose an MCD-empanelled architect from the available list on the portal (where applicable).
The architect will then prepare and upload the required technical documents using the dedicated architect login.
Step 4 – Upload Supporting Documents
Upload all required documents.
Common uploads include:
- Identity Proof
- Ownership Documents
- Building Plan
- Structural Stability Certificate
- Property Photographs
- Additional declarations (if required)
Ensure every uploaded document is clear and readable.
Blurred scans often result in unnecessary queries.
Step 5 – Verify Application Details
Before clicking Submit, review every detail carefully.
Pay special attention to:
- Property Address
- Plot Area
- Owner Name
- Mobile Number
- Email Address
- Architect Details
- Uploaded Documents
Correcting mistakes after submission may take additional time.
Step 6 – Payment of Applicable Fees
After successful verification, the portal calculates the applicable charges based on the property’s particulars and the prevailing rules.
The fee structure can include different components, such as application and scrutiny charges, and may vary according to the case. For example, officials have stated that scrutiny fees may be calculated on a per-square-metre basis.
After payment, save:
- Payment Receipt
- Transaction ID
- Acknowledgement Number
These records can be useful if you need to track or clarify your application later.
What Happens After Submission?
Once the application is submitted, it moves through several stages.
A typical workflow is:
| Stage | Description |
|---|---|
| Application Submitted | Initial submission completed |
| Document Verification | Uploaded documents are checked |
| Technical Scrutiny | Building plans and certificates reviewed |
| Fee Verification | Payment confirmed |
| Deficiency (if any) | Applicant may be asked to provide corrections |
| Final Approval | Subject to compliance with applicable rules |
| Certificate Issued | Regularization certificate generated after approval |
The exact processing time can vary depending on the application, workload, and whether additional information is requested. Recent MCD announcements have indicated a target timeline of around 45 days for complete applications, though actual timelines may differ.
Can You Track Your Application?
Yes.
One of the advantages of the SWAGAM Portal is that applicants can monitor their application online instead of relying entirely on in-person visits.
Depending on the portal features available, you may be able to:
- Check current application status
- View pending actions
- Receive SMS or online updates
- Respond to deficiency notices
- Download the approval after completion
Common Mistakes That Delay Applications
Avoid these common errors:
❌ Applying without a valid PM-UDAY Case ID
❌ Uploading unclear or incomplete documents
❌ Selecting the wrong official colony name
❌ Incorrect plot measurements
❌ Mismatch between ownership documents and portal records
❌ Submitting photographs that do not clearly show the property
❌ Ignoring deficiency notices from the portal
Spending a little extra time reviewing your application before submission can help reduce delays.